
Uploading NAATI Translations to ImmiAccount – Correctly

Many visa delays occur not because translations are incorrect, but because they are uploaded improperly inside ImmiAccount. As a NAATI professional translator service providing certified document translation services across Australia, we see this issue daily — files attached to the wrong category, missing certification pages, or unclear scans regularly trigger requests for further information, adding weeks to processing times.
If you've already obtained a NAATI certified translation through our NAATI certified translation services or another provider, the next critical step is ensuring it reaches the Department of Home Affairs in the right format, under the right document category, and with all required credentials — including the NAATI stamp — visible. Getting this step wrong is one of the most common — and most avoidable — causes of visa processing delays in NAATI translation Australia applications.
This comprehensive guide covers correct file preparation, where to upload translations inside ImmiAccount, NAATI digital ID verification, file format rules, Australia vs New Zealand differences, and the most common immigration document translation services mistakes applicants make. Whether you're applying for a partner visa, skilled migration, or student visa, these steps apply across all visa subclasses.
Why Correct Uploading Matters in ImmiAccount
Legal Requirement Under Department of Home Affairs
ImmiAccount requires applicants to upload supporting documents in a structured format. For any NAATI document translation submitted with your visa, the Department of Home Affairs expects:
- A copy of the original document
- A full certified translation
- Visible translator credentials (NAATI practitioner ID or equivalent)
- Clear and legible scans
Failing to meet any of these requirements can trigger a request for further information, stalling your application until the issue is resolved.
Consequences of Incorrect Uploads
Uploading documents incorrectly is one of the most common — and most avoidable — causes of visa processing delays. Consequences include:
- A request for further information (RFI), pausing your application
- Delays of several weeks while you gather and resubmit documents
- Visa refusal in serious or repeated cases
- Additional document upload deadlines that must be met within 7–28 days
Incomplete or incorrectly uploaded documents contribute to a significant proportion of visa processing delays. Correct uploading is one of the simplest ways to keep your application on track.
Step-by-Step Guide: Uploading NAATI Translations to ImmiAccount
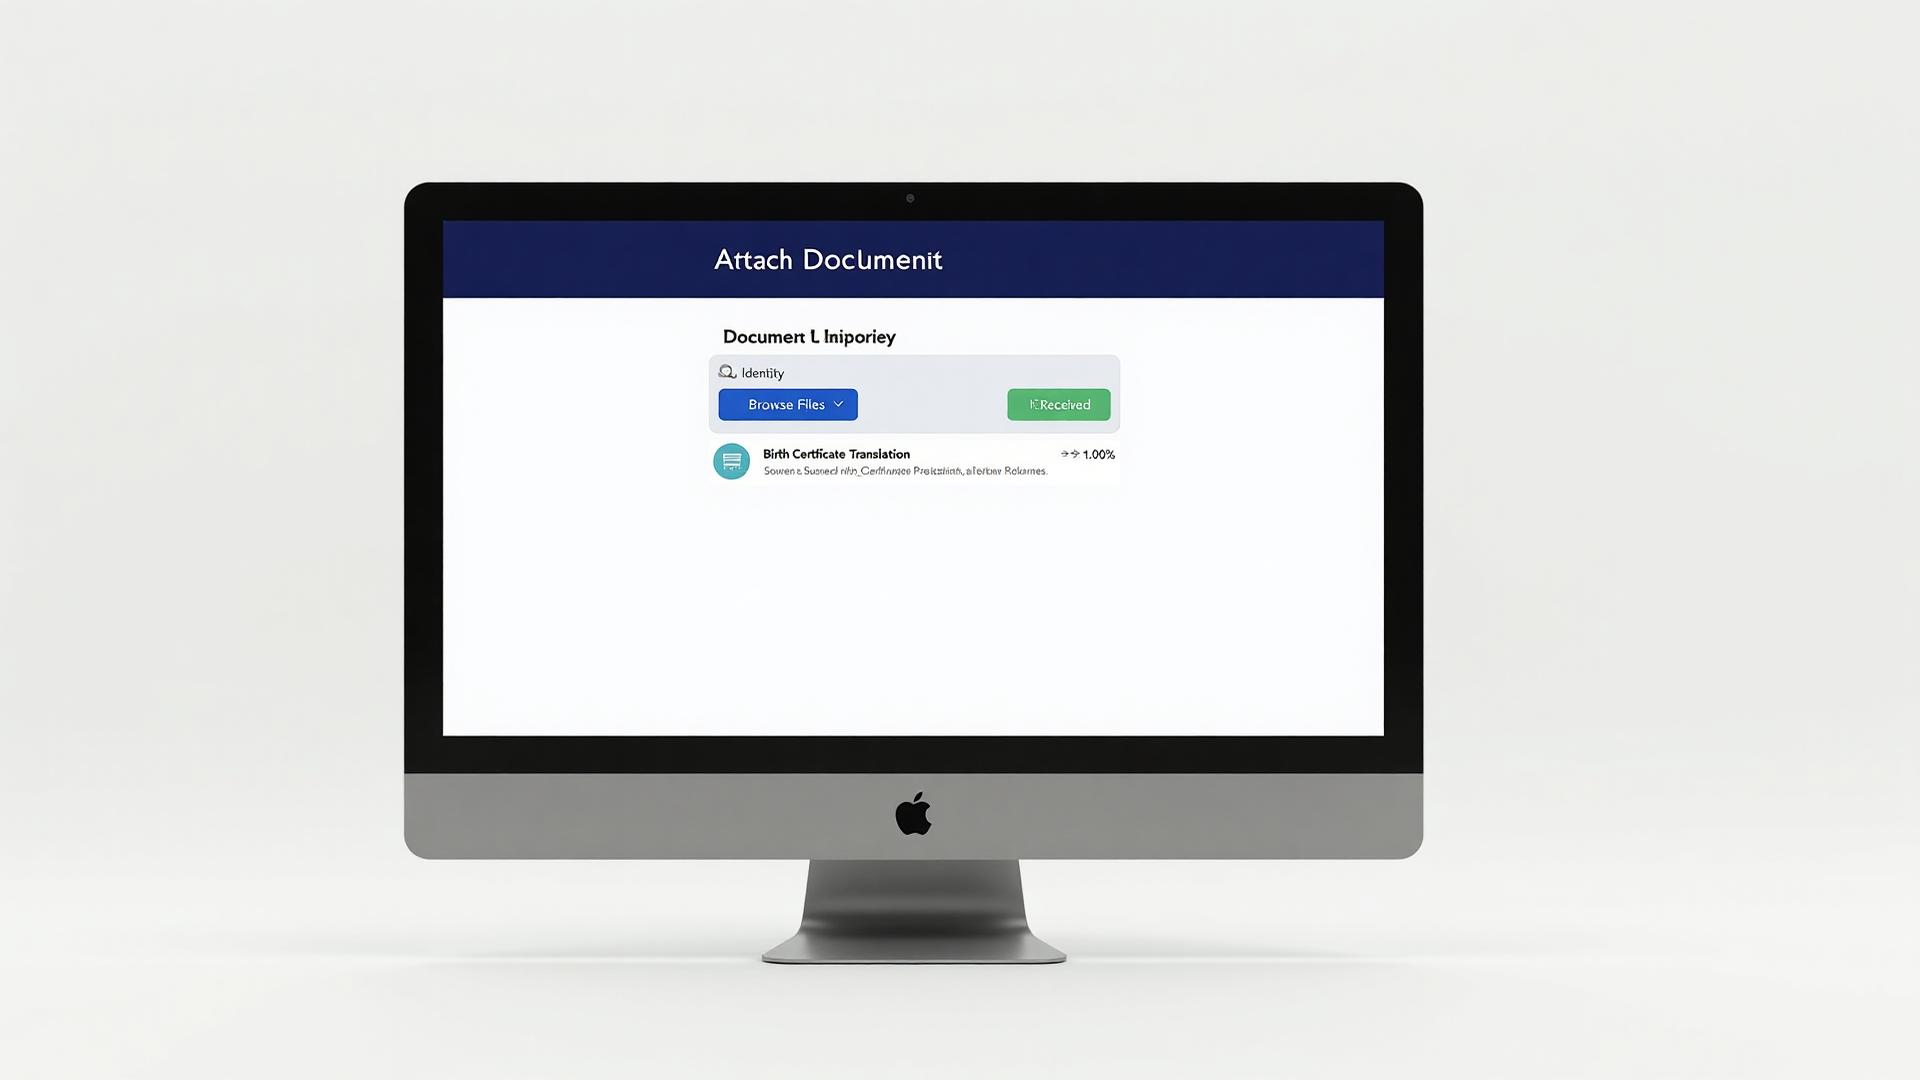
Step 1: Prepare Your Files Correctly
Before logging into ImmiAccount, ensure your files are ready:
- Scan the original document clearly at a minimum of 300 DPI
- Scan the full NAATI translation, including the certification page
- Combine the original and translation into one PDF where possible
- Ensure the file size meets ImmiAccount limits (generally under 5MB per file)
- Use logical file names (e.g., "Birth_Certificate_Translation_Vietnamese.pdf")
Step 2: Log Into ImmiAccount
Open your visa application on ImmiAccount and navigate to the "Attach Documents" section of your application. This is where all supporting evidence is uploaded. If you're unsure which documents need translating in the first place, our guide on documents you must translate for an Australian visa covers every category in detail.
Step 3: Select the Correct Document Category
ImmiAccount organises uploads by category. You must select the category that matches the type of document you are uploading. Common categories include:
- Identity — Birth certificates, passports, national IDs
- Character — Police clearances, court documents
- Relationship — Marriage certificates, divorce decrees
- Financial — Bank statements, tax returns
- Education — Academic transcripts, degree certificates
Step 4: Upload Both Original and Translation
For each non-English document, attach both the original and the certified translation. After uploading, confirm the upload status shows "Received" in your ImmiAccount dashboard. If the status does not update, try re-uploading or contacting the Department of Home Affairs technical support.
File Format and Technical Requirements
ImmiAccount accepts the following file formats:
- PDF — Preferred format; preserves formatting and certification pages
- JPG — Accepted if clear and complete
- PNG — Accepted if clear and complete
Additional file requirements:
- Clear resolution (minimum 300 DPI recommended)
- All pages included — no cropped edges or missing pages
- No password protection on PDF files
- File size generally under 5MB per document (check current ImmiAccount guidelines)
NAATI Digital ID Verification Explained
Each NAATI accredited translator is assigned a unique practitioner ID as part of their NAATI translator certification. This ID is listed in the NAATI practitioner verification directory, where immigration officers and applicants can confirm a translator's credentials and current certification status.
Certified translation services Australia providers include this practitioner ID or a QR code linked to the translator's credentials. Immigration officers use this information to verify that translations were completed by a qualified NAATI professional translator. Ensuring the NAATI practitioner ID and NAATI stamp are clearly visible on your uploaded translation is a critical compliance factor that many applicants overlook.
If your translation does not include a practitioner ID or QR code, contact your translator to request a corrected version before uploading.
Common Upload Mistakes That Cause Delays

The following mistakes are among the most frequent causes of RFIs and processing delays:
- Uploading translation without the original document — Both must be provided
- Uploading the original without a translation — Non-English documents require a certified translation
- Missing certification page — The translator's certification statement must be included
- Low-quality scans — Illegible scans are rejected and must be resubmitted
- Uploading in the wrong document category — Case officers may not find your document
- Combining multiple unrelated documents in one file — Each document type should be uploaded separately under its correct category
- Incorrect or missing file names — Logical naming helps case officers identify documents quickly
Australia vs New Zealand Upload Requirements
If you are applying for visas in both countries, the upload processes differ:
| Requirement | Australia (ImmiAccount) | New Zealand |
|---|---|---|
| Online Portal | ImmiAccount | Immigration NZ Online |
| NAATI Required | Preferred / Standard | Not mandatory |
| Digital ID Verification | Common | Less common |
| Upload Structure | Category-based | Similar but more flexible |
For New Zealand requirements, refer to Immigration New Zealand. A common point of confusion is assuming the upload structure is identical — New Zealand's system tends to be more flexible with document categorisation.
Cost Breakdown: Translation and Upload Preparation
| Service Type | Price (AUD) | Best For |
|---|---|---|
| Self-Serve Extract Translation | $44.95 | Standard certificates with quick turnaround |
| Extract Translation | $59.95 | Documents requiring professional handling |
| Full Translation | $79.95 | Multi-page or complex documents |
Cost varies depending on language pair, document complexity, certification level, and formatting requirements.
Timeline Expectations
Standard turnaround times for our translation services are:
- Self-Serve Extract Translations: From 1 hour
- Extract Translations: From 1 business day
- Full Translations: From 2–3 business days
The upload process itself typically takes 5–10 minutes per document. If you receive an RFI, response deadlines are usually 7–28 days.
Pros and Cons of Uploading Documents Yourself
| Pros | Cons |
|---|---|
| Saves service fees | Higher risk of upload errors |
| Full control over submission | Time-consuming |
| Immediate upload | May miss compliance details |
Common Myths About Uploading Translations
- "The translation alone is enough" — You must upload both the original non-English document and the certified translation. Submitting only the translation will trigger an RFI.
- "A certified copy replaces translation" — A certified copy confirms the document is a true copy of the original. It does not replace a certified English translation.
- "File naming does not matter" — Logical, descriptive file names help case officers locate and assess your documents more efficiently.
- "Google Translate is acceptable" — Machine translations are never accepted for official visa applications. All translations must be completed by a certified human translator.
- "NAATI ID is optional" — NAATI practitioner ID is a key compliance factor. Without it, immigration officers cannot verify your translator's credentials.
Pre-Submission Upload Checklist
Before submitting your visa application through ImmiAccount, verify the following:
- Original document scanned clearly (minimum 300 DPI)
- Certified translation included with certification page
- NAATI practitioner ID visible on the translation
- QR code intact and scannable (where applicable)
- Correct document category selected in ImmiAccount
- File under size limit (generally under 5MB)
- Upload status confirmed as "Received"
- Documents named logically and descriptively
Frequently Asked Questions
1. Do I upload the original document and translation separately?
You must upload both the original non-English document and its certified translation. They should be attached under the correct document category in ImmiAccount. Missing either file can trigger a request for further information.
2. Can I combine multiple translated documents into one PDF?
Only combine documents that belong to the same category. Mixing unrelated documents may confuse case officers and delay processing. Clear labelling is strongly recommended.
3. Is NAATI accreditation mandatory for ImmiAccount uploads?
The Department of Home Affairs strongly prefers NAATI accredited translators. While overseas certified translators may be accepted, NAATI certification reduces verification issues. You can check specific visa requirements using the Department of Home Affairs visa listing to understand which documents are needed for your subclass. Always ensure the translator's credentials are visible on the document.
4. What file format should I use when uploading translations?
PDF is generally preferred because it preserves formatting and certification pages. JPG and PNG are also accepted if clear and complete. Avoid password-protected or compressed files.
5. What happens if I upload documents incorrectly?
You may receive a request for further information, which pauses your application. In serious cases, incorrect uploads can result in refusal. Correct uploading helps avoid unnecessary delays.
Key Takeaways
- Always upload both the original document and the certified translation
- Use a NAATI accredited translator whenever possible
- Include the certification page and digital ID on every translation
- Select the correct document category in ImmiAccount
- Confirm upload status shows "Received" before moving on
- Incorrect uploads are a common and avoidable cause of visa delays
Uploading NAATI translations to ImmiAccount correctly is just as important as obtaining certified translations in the first place. Even perfectly translated documents from the best certified document translation services can cause delays if they are uploaded under the wrong category or missing certification details.
Before submission, verify that every file is clear, complete, and compliant with Department of Home Affairs requirements. Confirm that NAATI digital verification details — including the NAATI stamp and practitioner ID — are visible and your upload status shows successful receipt.
Review your documents carefully or consult a professional NAATI translation Australia service to ensure full compliance before lodging your visa application. Learn more about our translation process to get started.